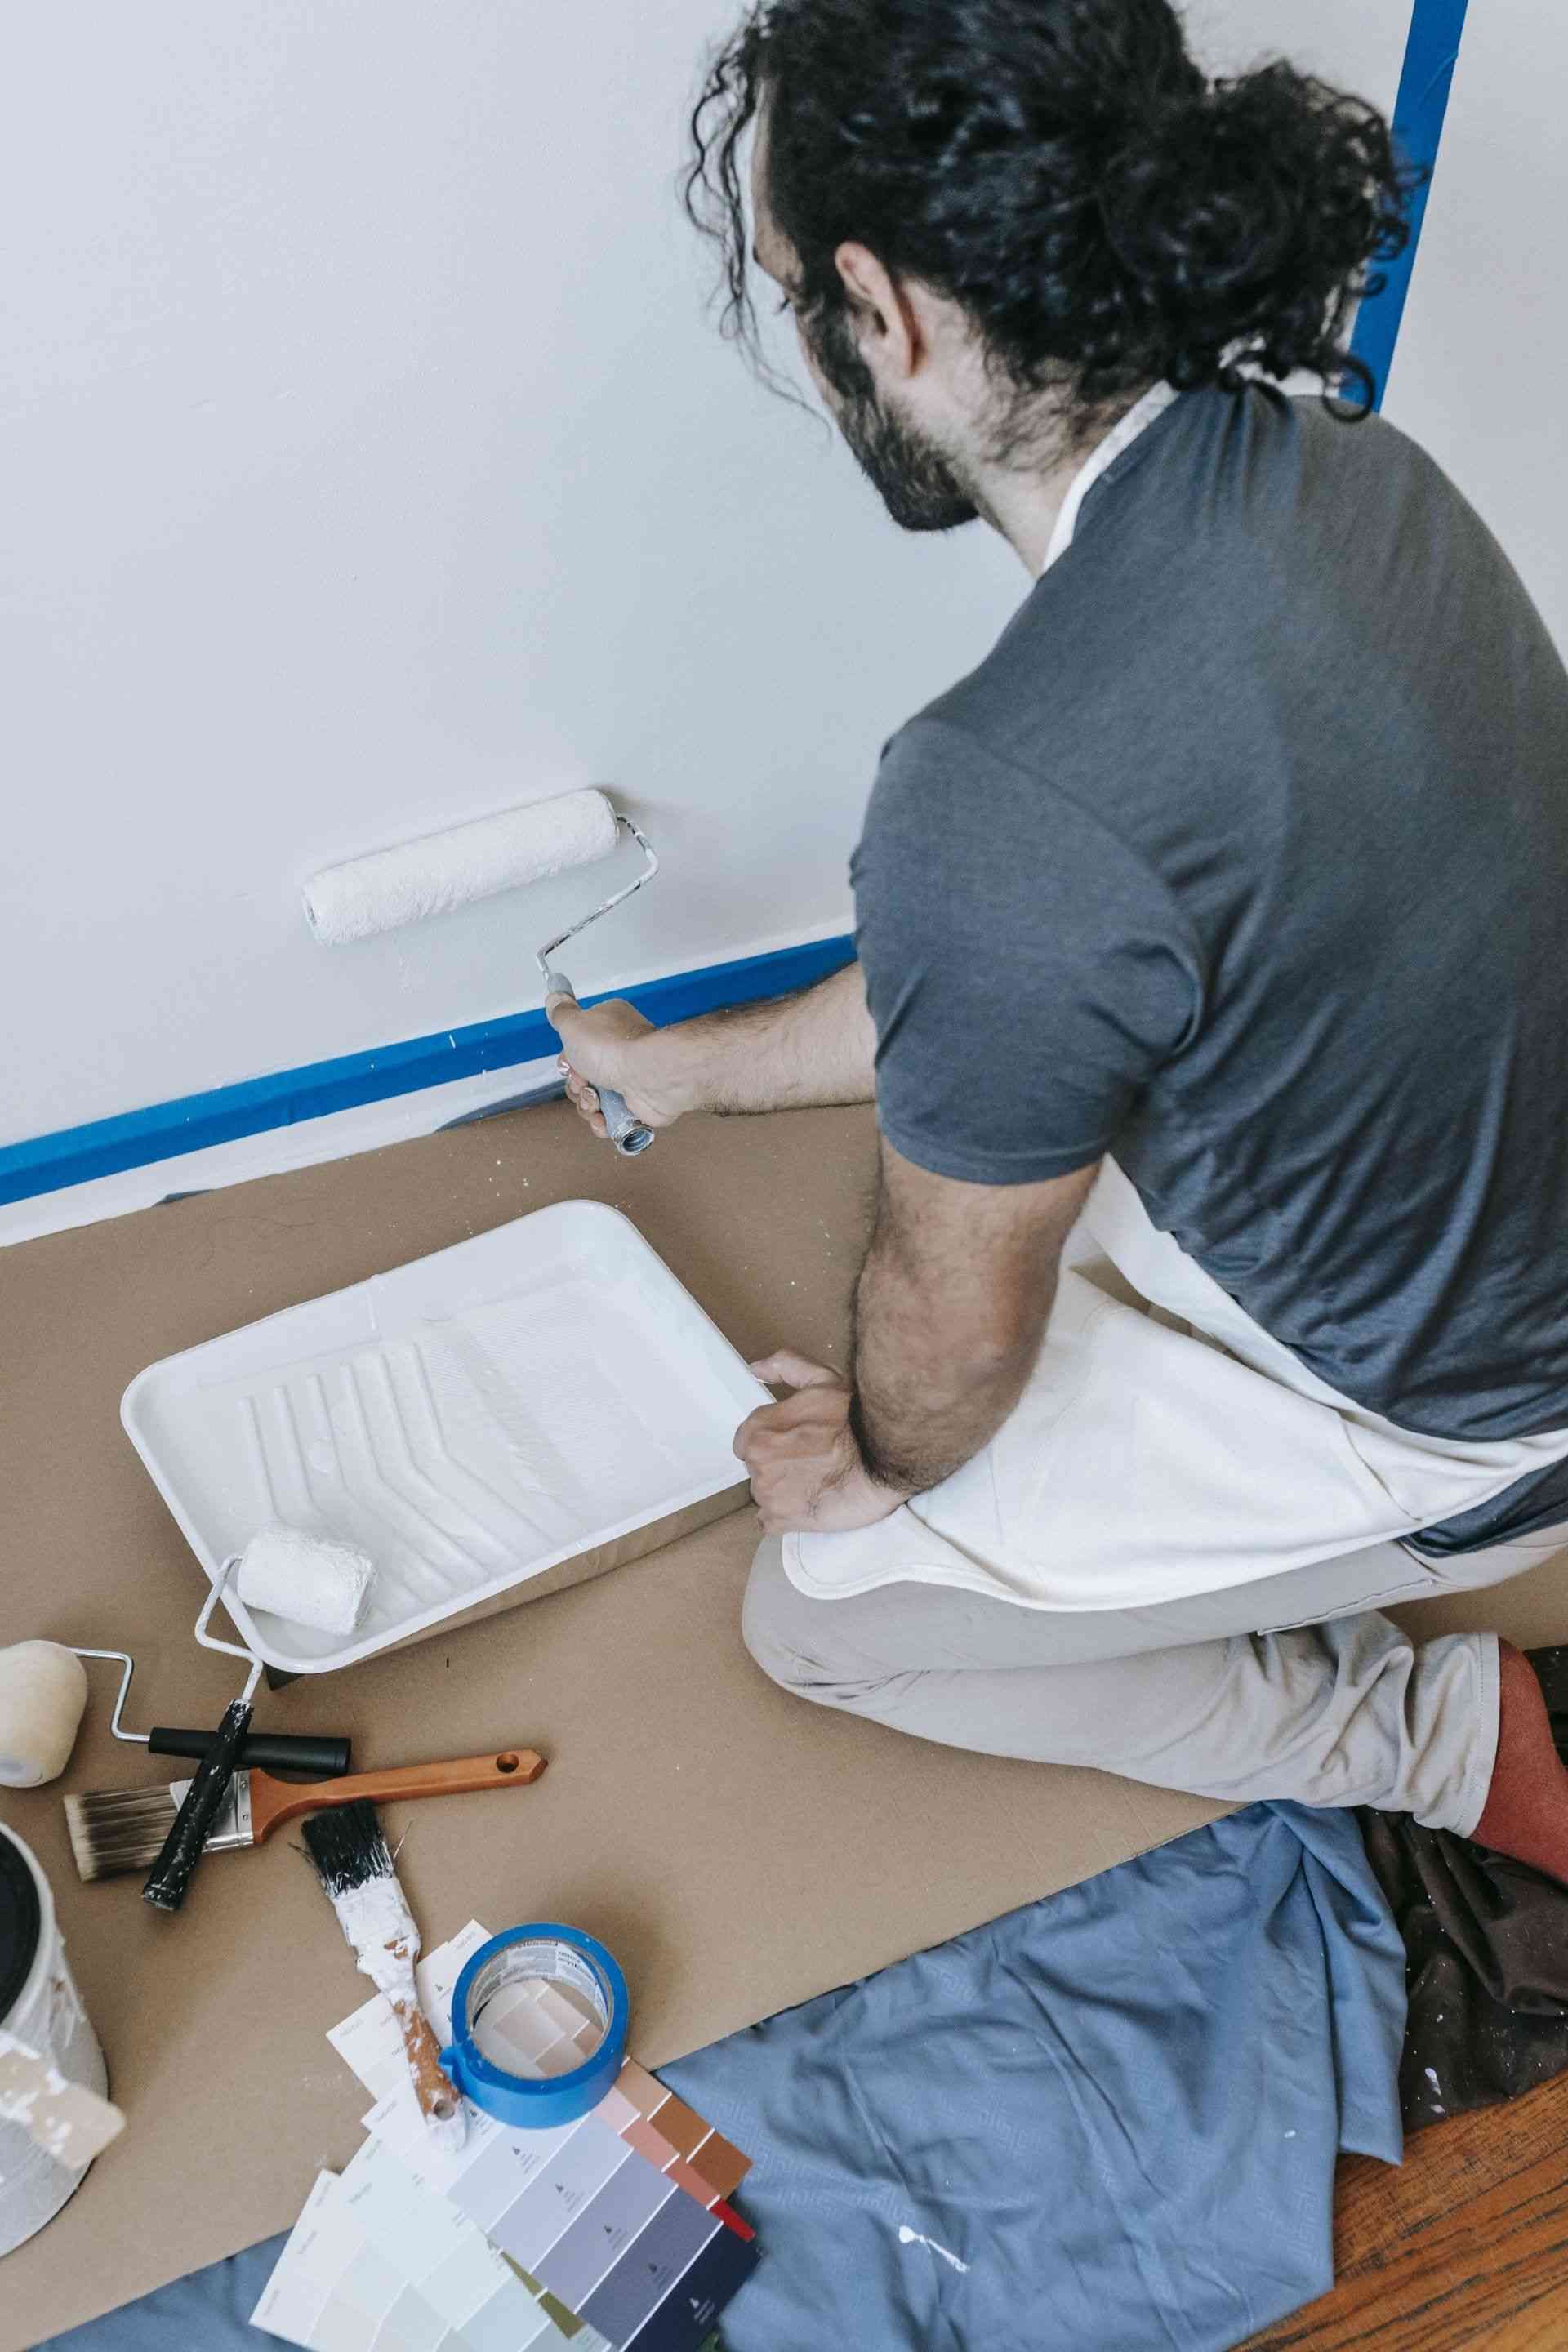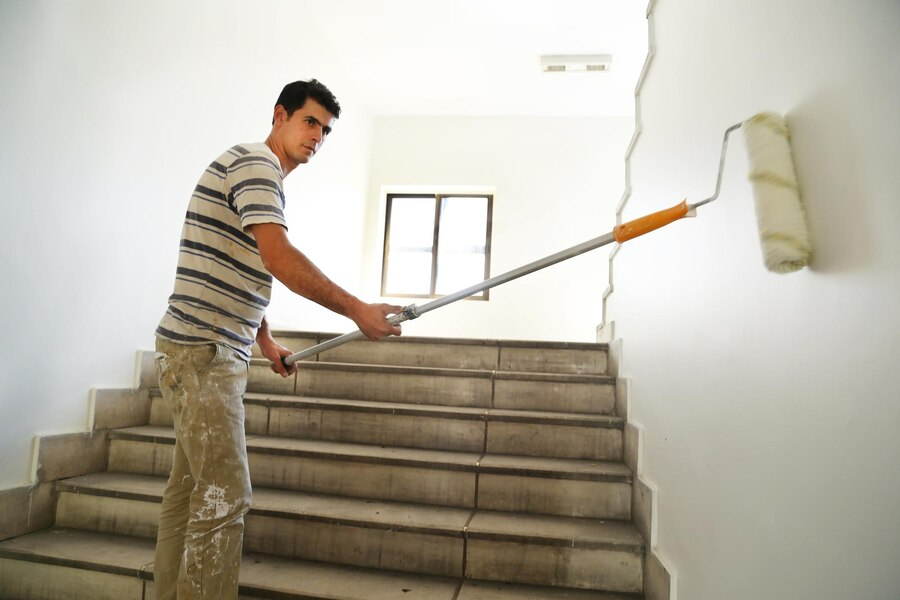
Painters Wilmington DE: Prepping Surfaces
Have you ever poured your heart and soul into a painting project, only to be disappointed with the final results? Often, the culprit is inadequate surface preparation. A smooth, clean surface is the foundation for a flawless paint job, and skipping this crucial step can lead to peeling, bubbling, and uneven finishes. Read Choosing the Right Paint Finish in Delaware to learn more.
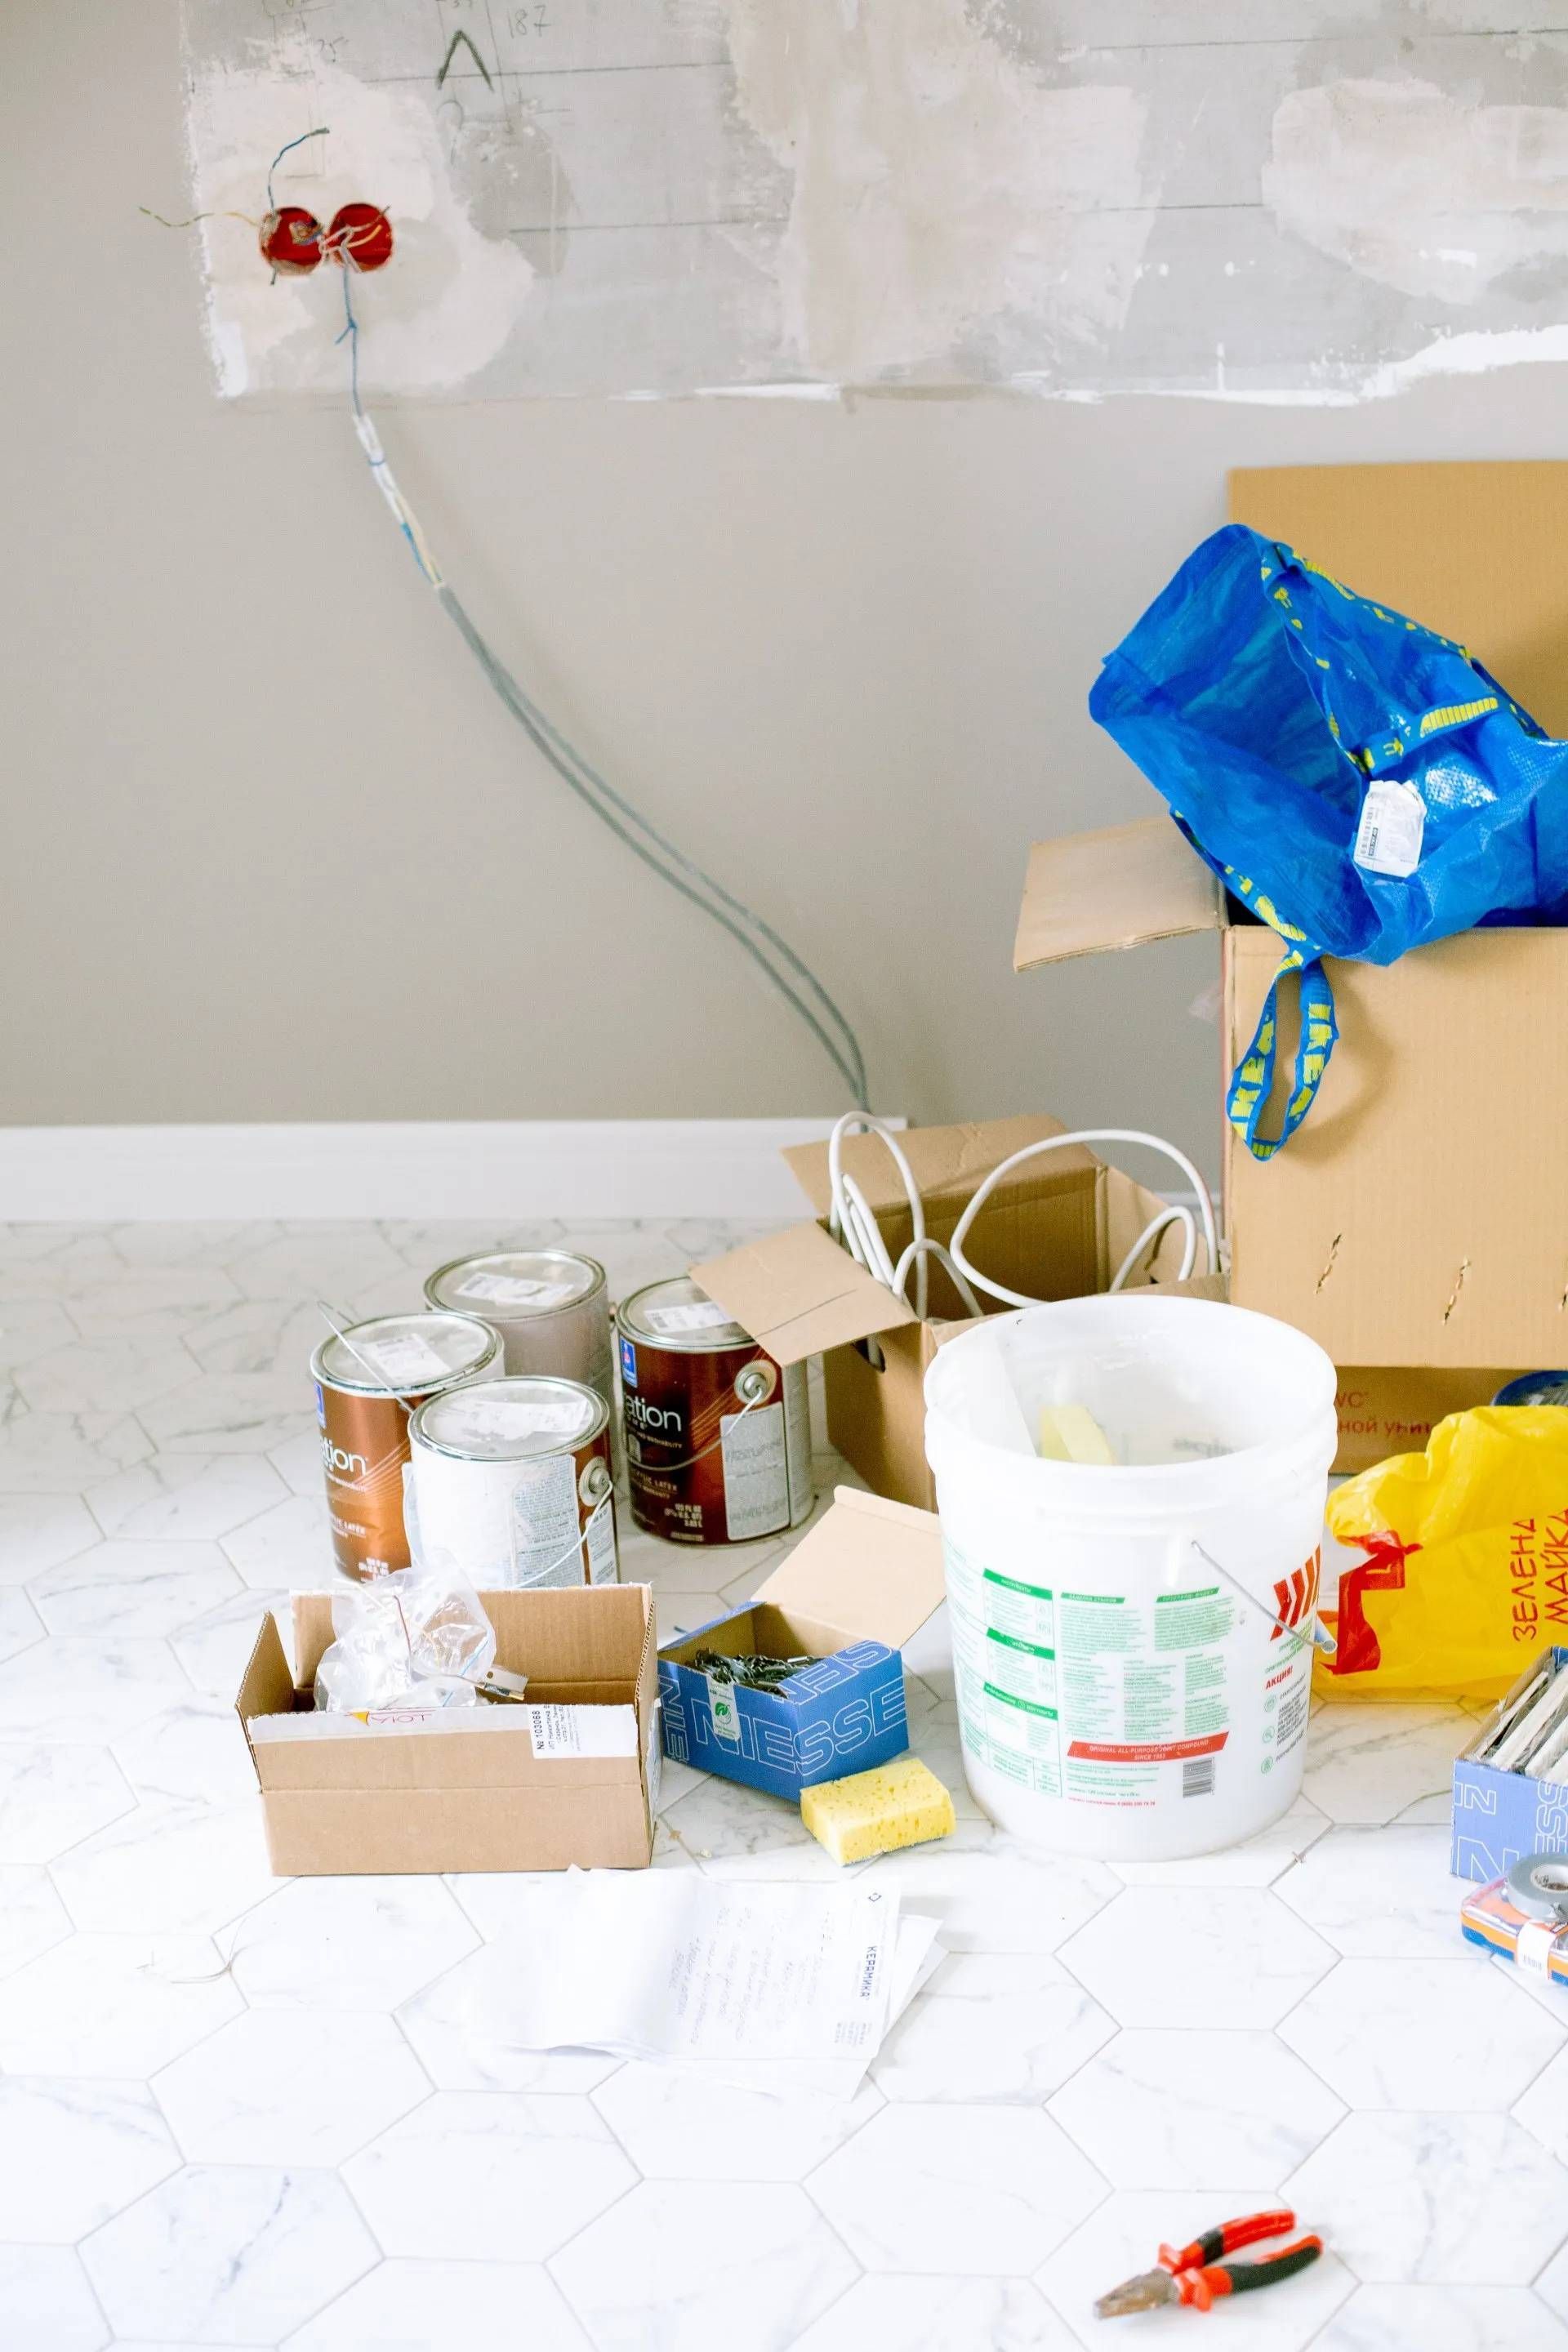
The Importance Of Proper Surface Preparation
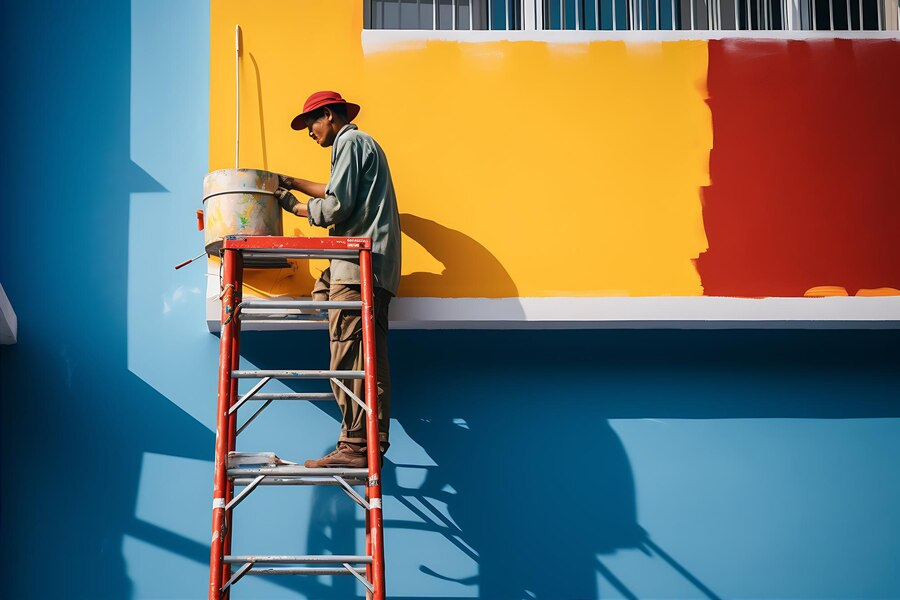
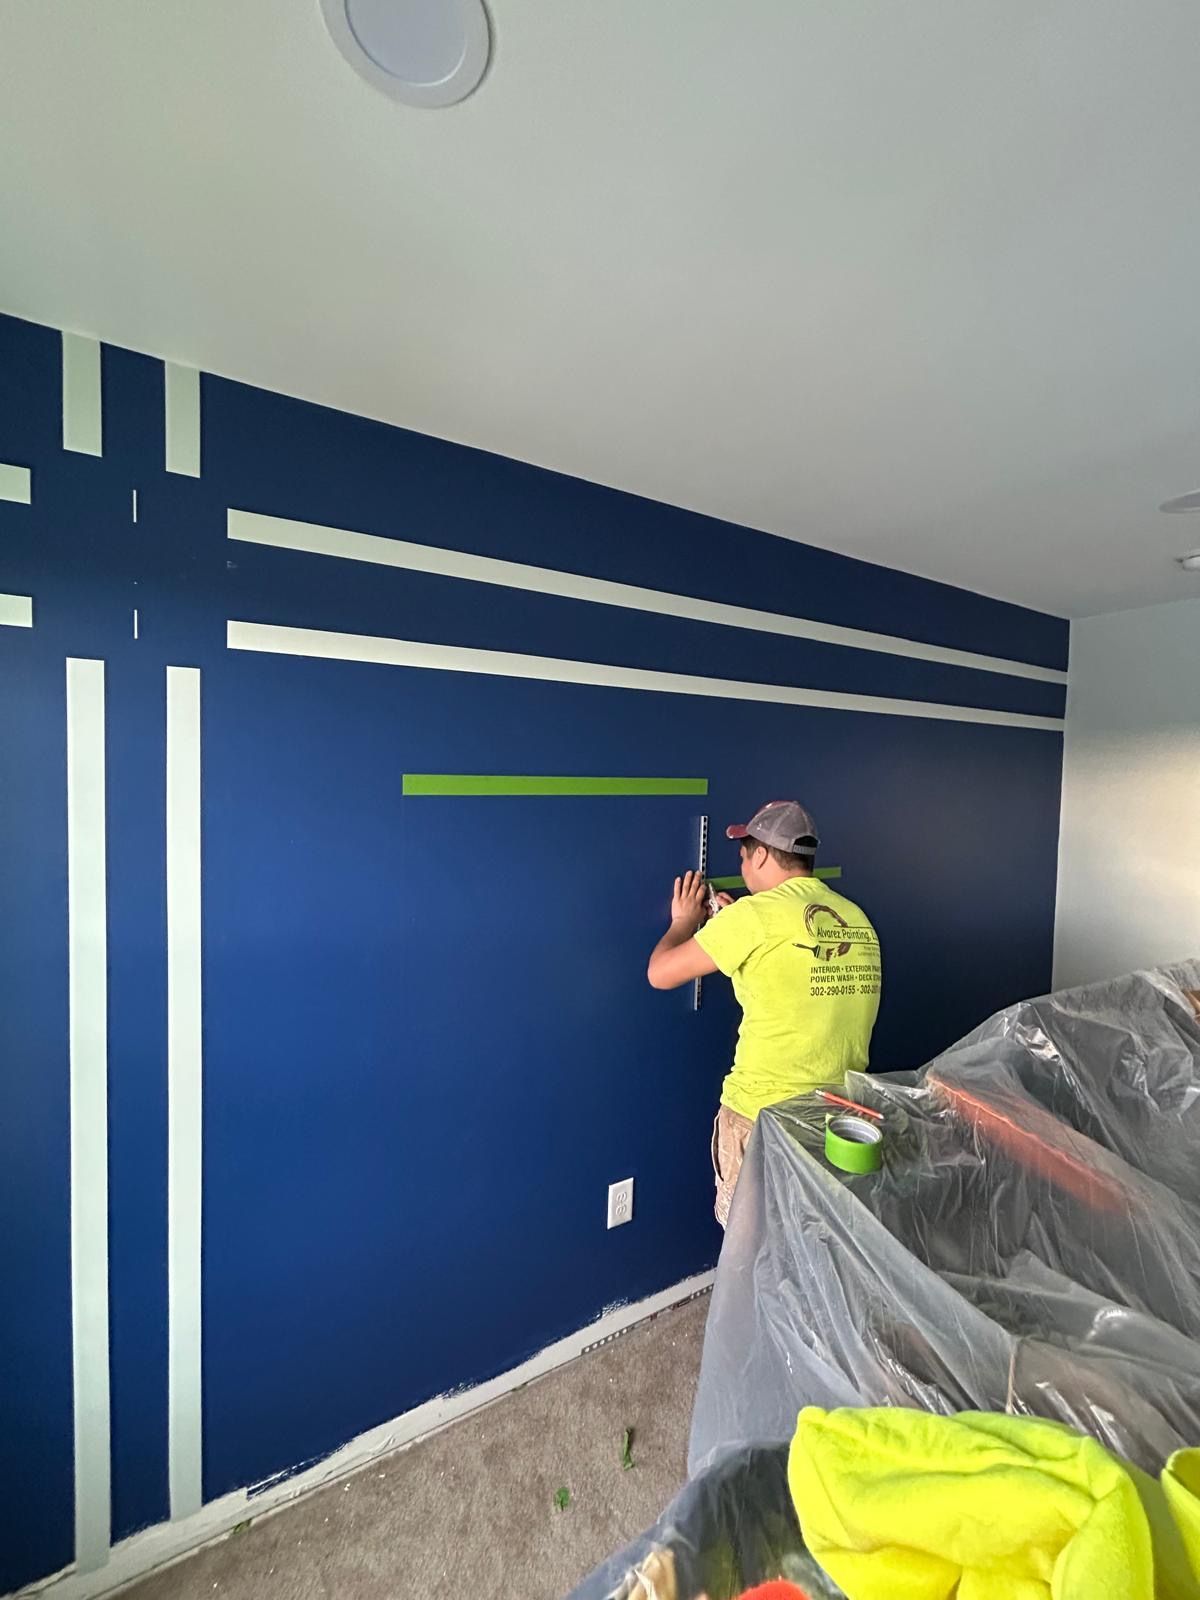
Painters Wilmington DE, like the experts at Alvarez Painting LLC, understand that meticulous surface preparation is paramount for achieving a professional and long-lasting paint job. Here's why:
- Ensures Paint Adhesion: Without proper prepping, paint struggles to adhere to the surface. This can lead to peeling and flaking, especially in areas exposed to moisture or high traffic.
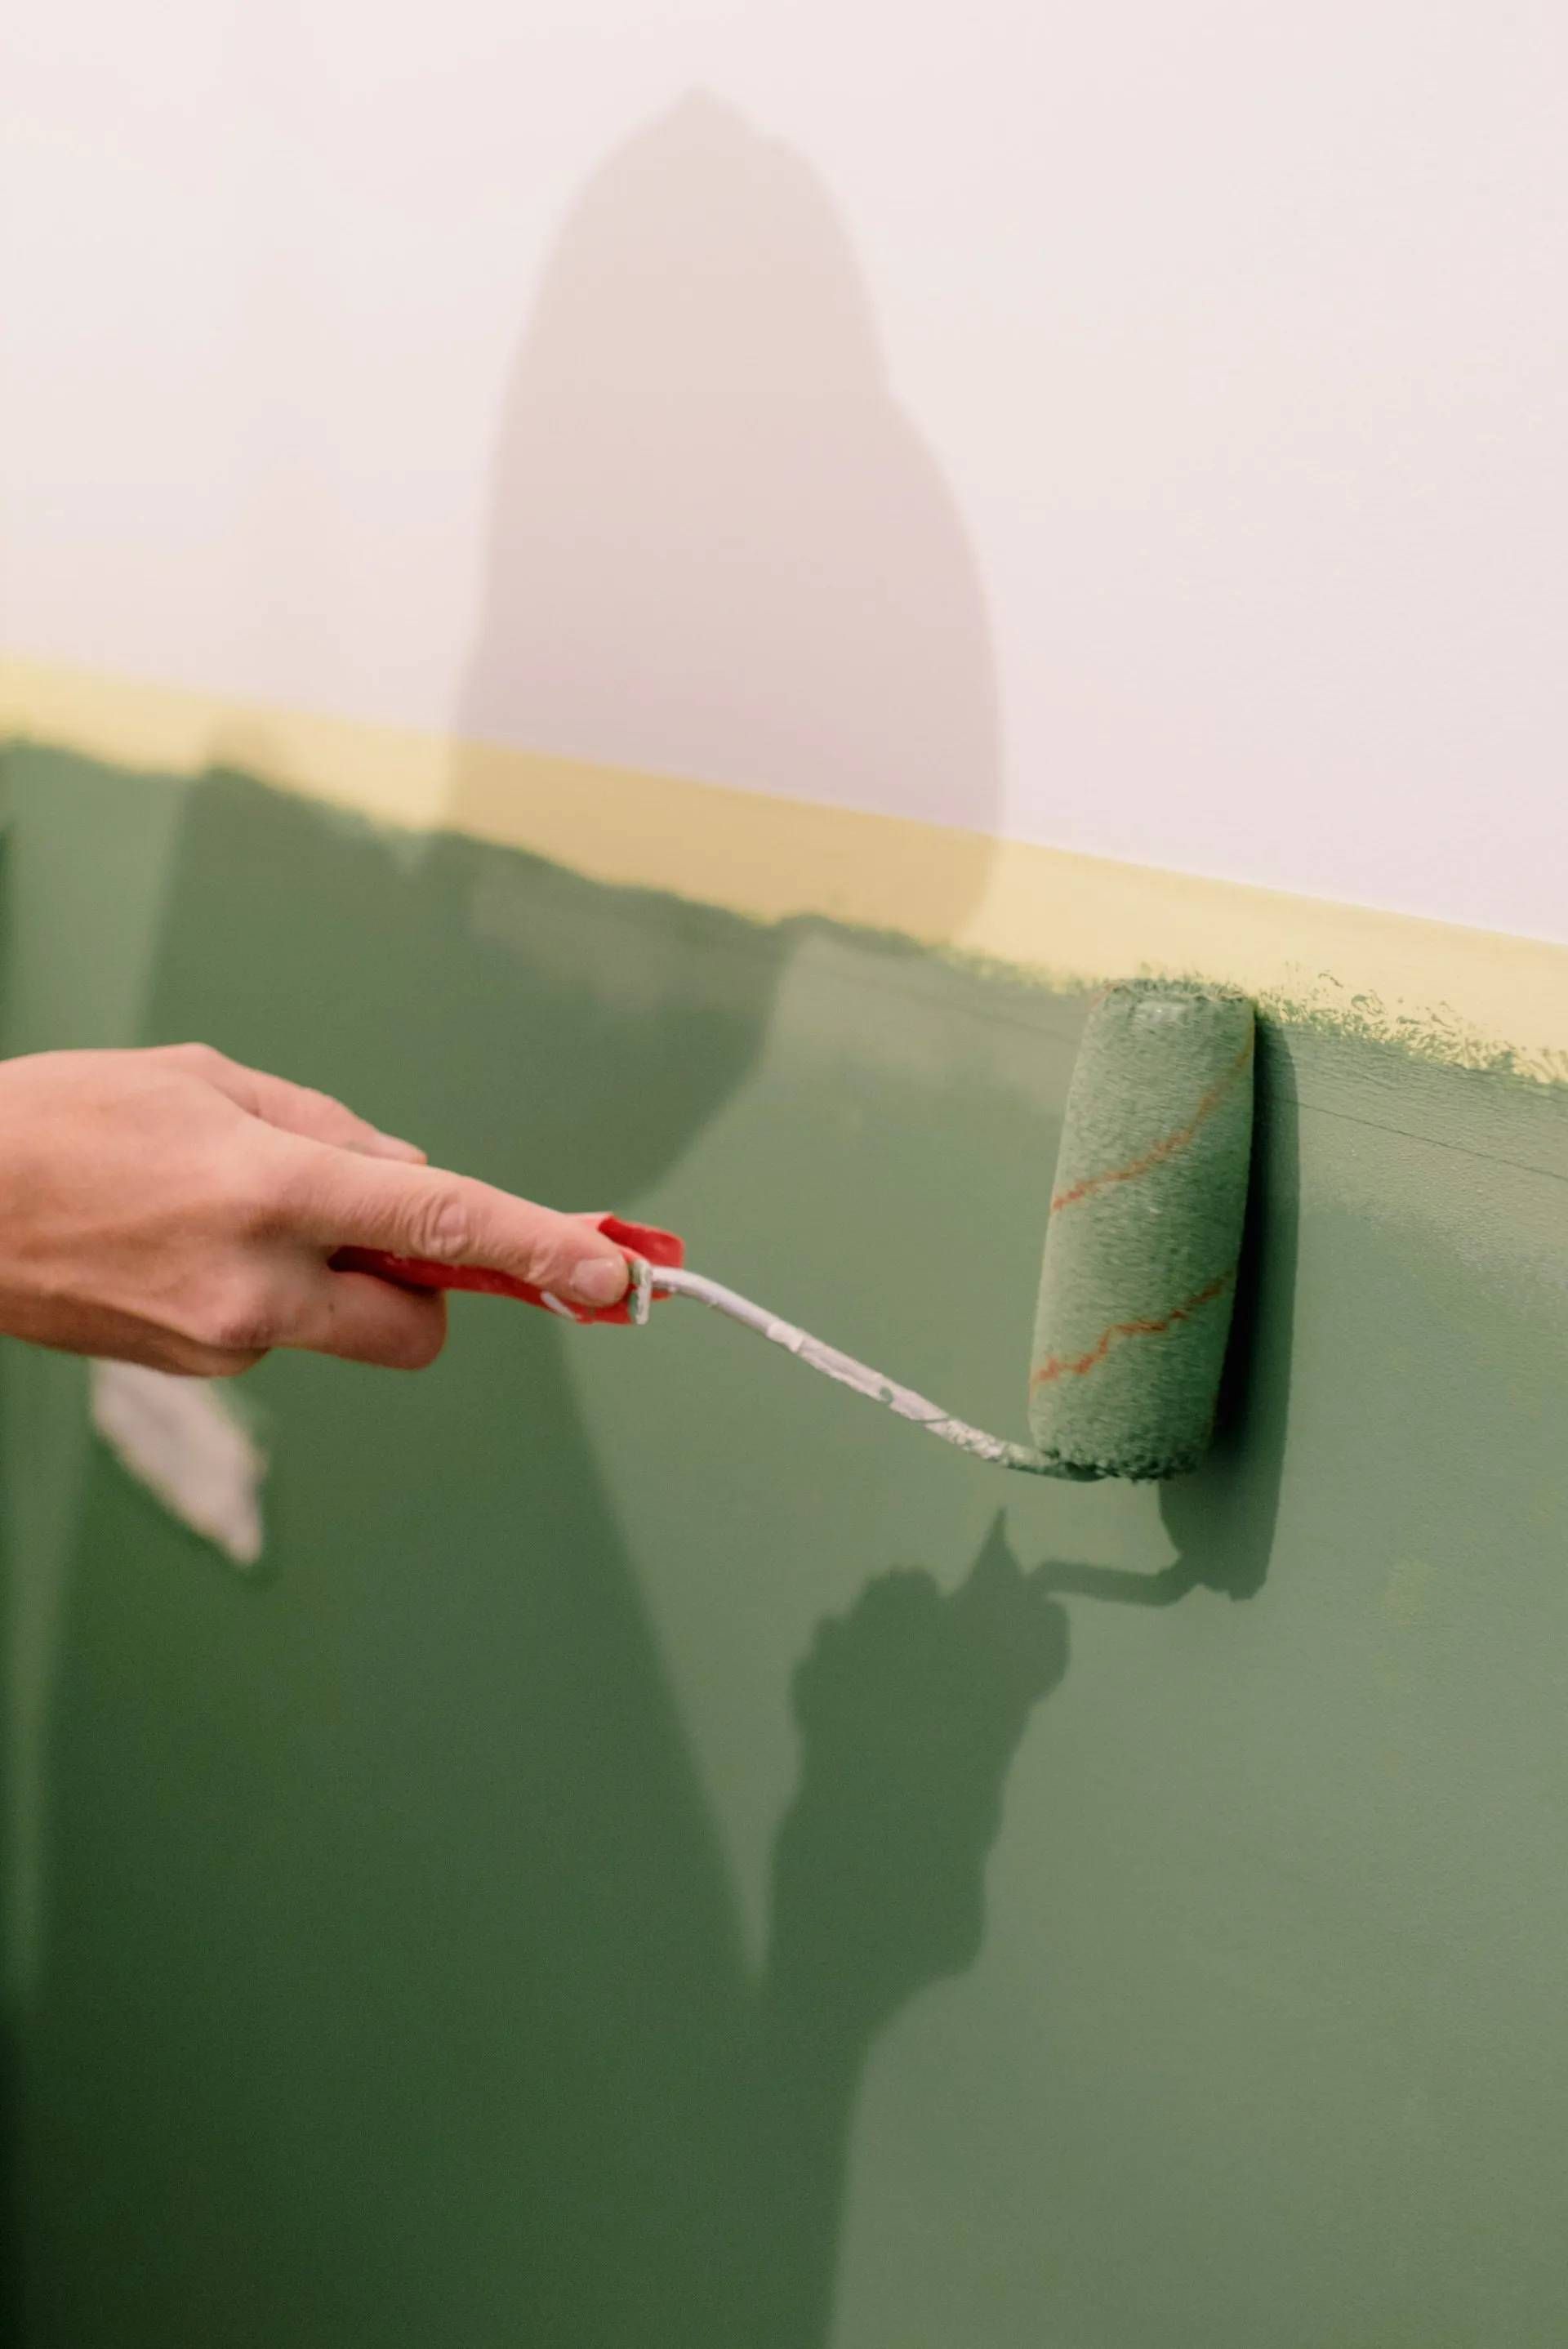
- Creates a Flawless Finish: Uneven surfaces translate to uneven paint application. Prepping creates a smooth canvas, allowing for a beautiful, professional finish.
- Improves Paint Durability: A clean surface free from dirt and debris allows the paint to bond properly, increasing its lifespan and resistance to wear and tear.
- Reduces the Risk of Future Problems: Skipping prep work can expose existing issues like mold or mildew, which can resurface and compromise the paint job later.
The Three Pillars Of Surface Prepping
Now that we understand the significance of surface preparation, let's delve into the three essential steps involved: scraping, sanding, and cleaning.
1. Scraping Away The Old
Scraping removes loose paint, flaking debris, and any imperfections that might prevent the new paint from adhering properly.
- Tools of the Trade:
- Putty knife: Ideal for removing loose paint and filling small cracks.
- Paint scraper: Effective for tackling larger areas of peeling or flaking paint.
- Sandpaper (coarse grit): Useful for roughing up a glossy surface to improve paint adhesion.
- The Scraping Process:
- Safety First: Wear eye protection and a dust mask to avoid inhaling paint chips or dust.
- Start with a Clean Slate: Begin by removing any furniture or wall hangings from the area.
- Assess the Damage: Carefully examine the surface for loose, peeling, or blistered paint.
- Gently Does It: Use a putty knife or paint scraper to gently remove loose paint. Avoid gouging the underlying surface.
- Focus on Edges and Corners: These areas are particularly prone to peeling. Pay close attention to them.
- Sanding for a Smooth Transition: Once scraping is complete, lightly sand the scraped areas with coarse-grit sandpaper to create a smooth transition.
2. Sanding For A Smooth Canvas
Sanding smooths out rough surfaces, removes imperfections, and provides a better grip for the new paint.
- Sandpaper Selection:
- Coarse grit (80-120): Ideal for removing heavy paint layers or smoothing uneven surfaces.
- Medium grit (150-220): Suitable for general sanding and refining the surface.
- Fine grit (240+): Perfect for achieving a super-smooth finish for delicate surfaces.
- The Art Of Sanding:
- Always Use Sanding in Conjunction with Scraping: Sanding alone won't remove loose paint.
- Work in Sections: Sand in small, manageable sections using a sanding block or pole sander.
- Apply Gentle, Even Pressure: Avoid applying excessive pressure, which can damage the surface.
- Sand in a Circular Motion: This ensures a more even finish compared to back-and-forth strokes.
- Vacuum Regularly: Frequently vacuum the dust created by sanding to prevent it from settling back onto the surface.
3. Cleaning: The Final Touch
After scraping and sanding, a thorough cleaning removes any lingering dust, dirt, or debris.
- Cleaning Solutions:
- For walls: A mixture of warm water and a mild dish soap is usually sufficient. Opt for a TSP (trisodium phosphate) solution for stubborn grime.
- For woodwork: Use a damp cloth with a wood cleaning solution or a mixture of white vinegar and water.
- The Cleaning Process:
- Vacuum Again: Remove any loose sanding dust before cleaning.
- Dampen, Don't Drench: Use a damp cloth or sponge to avoid saturating the surface.
- Clean in Sections: Work in manageable sections, rinsing and wringing the cloth frequently.
- Allow for Complete Drying: Ensure the surface is completely dry before proceeding with painting. This can take several hours depending on humidity
Beyond The Basics: Additional Considerations for Surface Preparation
While scraping, sanding, and cleaning form the core of surface preparation, there are additional factors to consider depending on the specific surface you're working with. Here are some key pointers:
Dealing With Walls
- Identifying Wall Material: Understanding your wall material (drywall, plaster, etc.) is crucial. Drywall typically requires minimal prep, while plaster might need patching cracks or uneven surfaces.
- Addressing Mold or Mildew: If you encounter mold or mildew, use a fungicide solution before cleaning to prevent its spread.
Prepping Woodwork
- Removing Glossy Finishes: For surfaces with a glossy finish, use deglosser to create a better surface for paint adhesion. Sand lightly after applying deglosser.
- Filling Nail Holes and Gaps: Use wood putty or spackle to fill any nail holes, cracks, or imperfections on the woodwork. Sand smooth once dry.
Tackling Other Surfaces
- Metal: Clean metal surfaces with a degreaser to remove grease, oil, or rust. For heavily rusted areas, consider using a wire brush or rust converter.
- Brick and Concrete: Use a wire brush or stiff broom to remove dirt, dust, or cobwebs. For heavily stained surfaces, a power washer might be necessary.
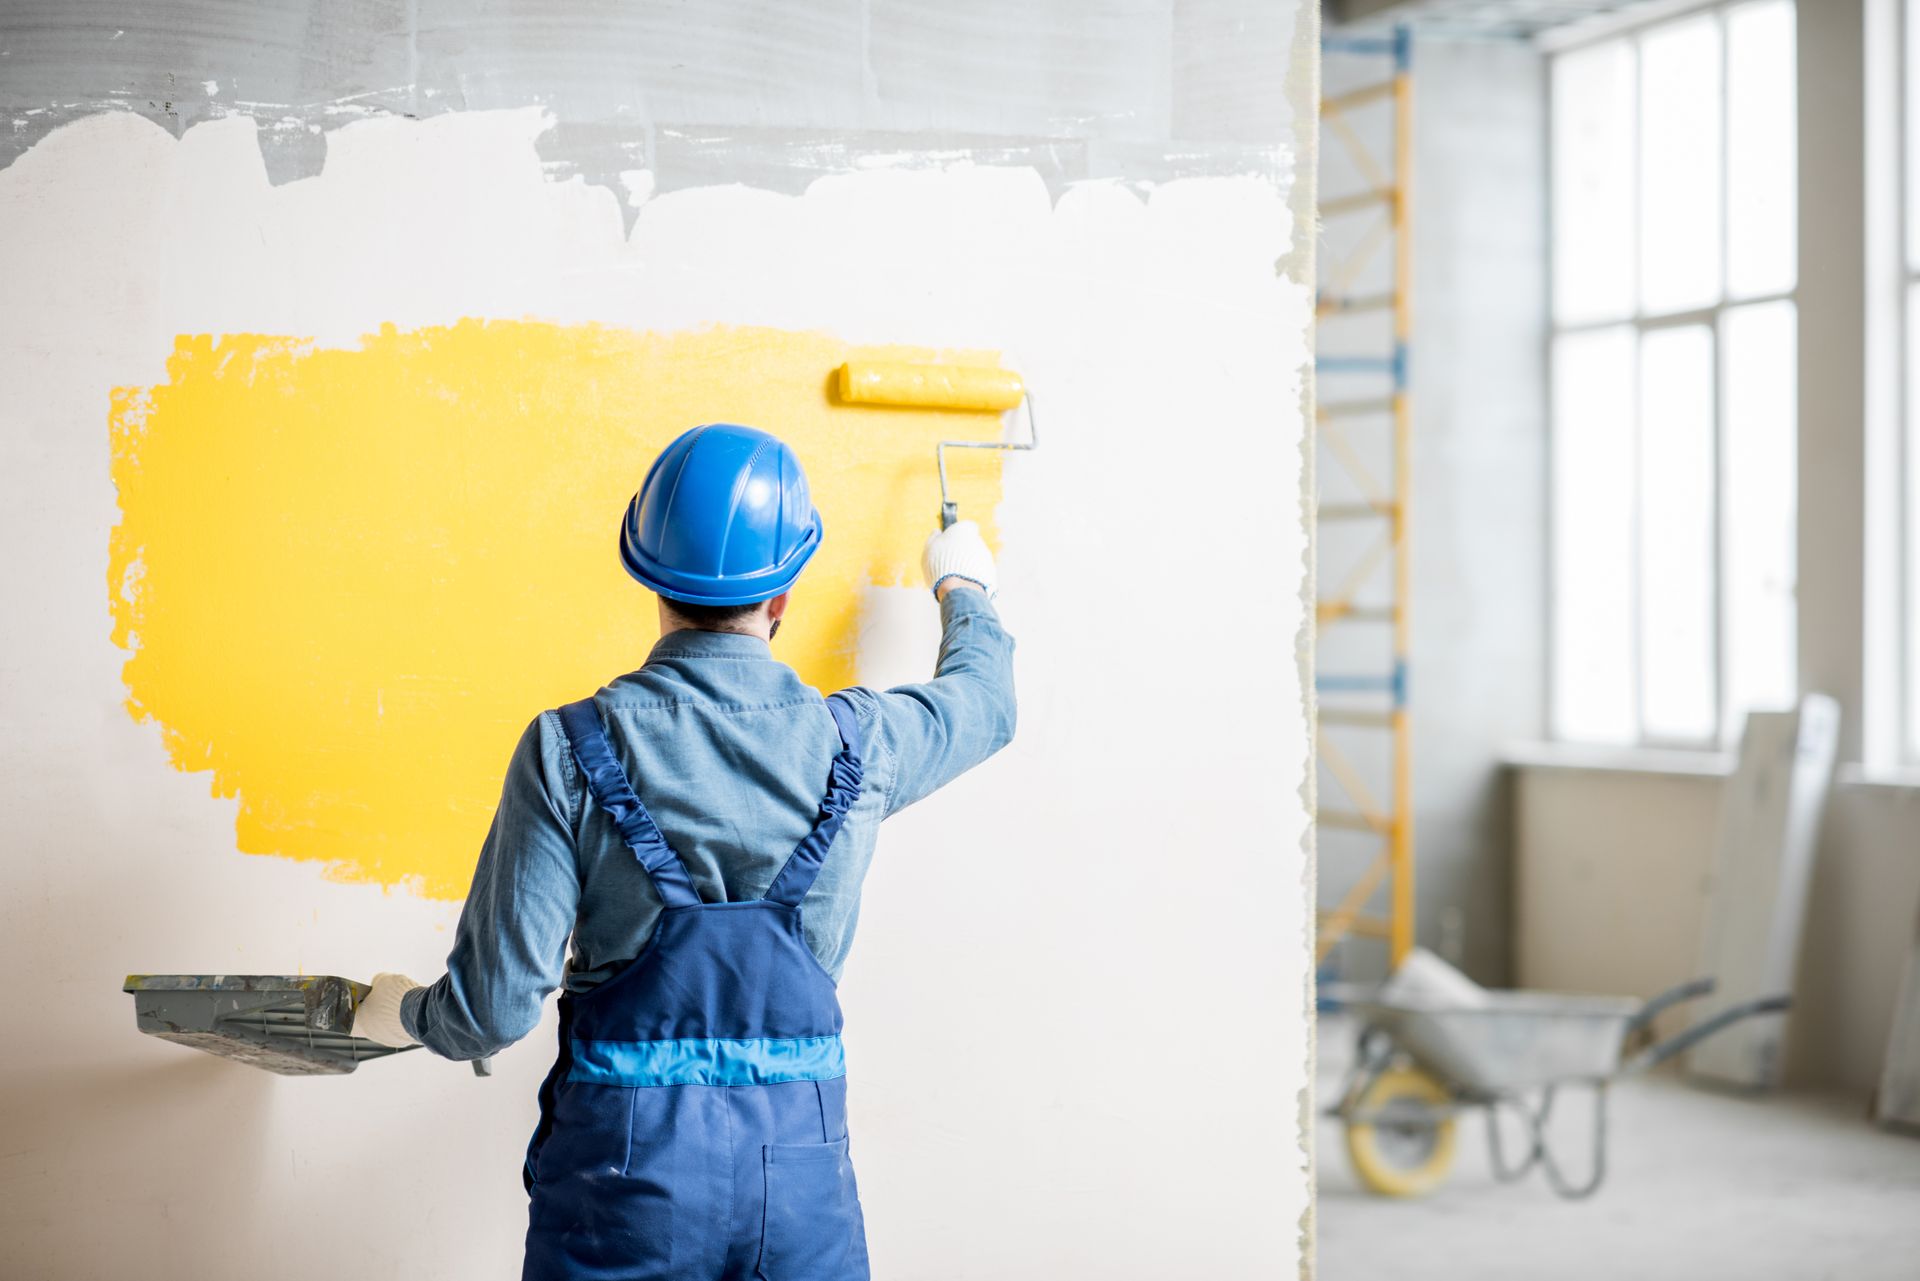
Prime Time: The Importance Of Priming
After completing the cleaning process, consider applying a primer. Primer acts as a double-edged sword:
- Enhances Paint Adhesion: Primer creates a uniform surface that allows paint to adhere better, especially on non-porous surfaces.
- Blocks Stains and Bleed-Through: Primer acts as a barrier, preventing stains or discoloration from bleeding through the new paint job.
Choosing The Right Primer
There are various primers available, each suited for specific situations. Consult your local paint store like those partnered with Painters Wilmington DE or a professional like Alvarez Painting LLC for guidance on selecting the appropriate primer for your project.
Safety First: Essential Precautions While Prepping Surfaces
While prepping surfaces, prioritize safety by following these precautions:
- Proper Ventilation: Ensure adequate ventilation by opening windows and doors. Consider using fans to create airflow.
- Lead Paint Concerns: If your home was built before 1978, there's a chance it contains lead paint. Lead is highly toxic, so exercise extreme caution and wear proper lead-safe gear if you suspect lead paint. It's best to consult a professional for lead paint removal.
- Dust Protection: Wear a dust mask to prevent inhaling dust particles created during scraping and sanding.
- Eye Protection: Safety goggles shield your eyes from flying debris or paint chips.
Conclusion: The Reward of a Flawless Finish
Taking the time to meticulously prep surfaces before painting might seem tedious, but the rewards are undeniable. A well-prepped surface translates to a professional-looking, long-lasting paint job that will be a source of pride for years to come. Remember, even the most skilled painters in Wilmington DE, like the experts at Alvarez Painting LLC emphasize the importance of proper surface preparation – it's the foundation for a truly transformative painting experience. Reach out to our team today!
Frequently Asked Questions: Alvarez Painting LLC
Do I always need to sand before painting?
Not necessarily. In some cases, cleaning the surface thoroughly might be sufficient. However, sanding is generally recommended for several reasons:
- It removes imperfections and creates a smooth surface for better paint adhesion.
- Sanding helps roughen up glossy surfaces, allowing the paint to grip better.
- It removes any loose paint or debris that could compromise the new paint job.
The need for sanding depends on the condition of the surface you're painting. For heavily textured surfaces or those already in good condition, a light cleaning might suffice. But for uneven surfaces, peeling paint, or glossy finishes, sanding is an essential step.
What grit sandpaper should I use?
The ideal grit for your sandpaper depends on the surface and the level of correction needed:
- Coarse grit (80-120): This is suitable for removing heavy layers of paint, smoothing uneven surfaces, or prepping a glossy finish for better paint adhesion.
- Medium grit (150-220): This is a good all-purpose grit for general sanding and refining the surface after using coarse grit sandpaper.
- Fine grit (240+): This is ideal for achieving a super-smooth finish, particularly for delicate surfaces.
When in doubt, it's always better to start with a coarser grit and gradually move to finer grits to achieve the desired smoothness.
How can I tell if there's lead paint on my surface?
Lead paint was commonly used in homes built before 1978. If your home falls within this timeframe, it's crucial to check for lead paint before starting any scraping or sanding. Here are some ways to identify potential lead paint:
- Visual Inspection: Look for paint chipping, peeling, or cracking, as these are common signs of lead paint.
- Lead Paint Test Kits: These kits are available at most hardware stores and allow you to test surfaces for lead content.
- Professional Lead Testing: For peace of mind, consider hiring a certified lead inspector to conduct a thorough evaluation.
What if I discover mold or mildew on my walls?
If you encounter mold or mildew during surface preparation, it's essential to address it before painting. Here's what to do:
- Identify the Source: Fix any moisture problems that might be causing the mold or mildew growth.
- Clean the Affected Area: Use a fungicide solution specifically designed for mold and mildew removal. Follow the manufacturer's instructions carefully.
- Allow for Proper Drying: Ensure the area is completely dry before proceeding with any further preparation or painting.
Is it always necessary to use primer?
Primer isn't mandatory in every situation, but it offers significant benefits:
- Enhanced Paint Adhesion: Primer creates a uniform surface that allows paint to adhere better, especially on non-porous surfaces.
- Blocks Stains and Bleed-Through: Primer acts as a barrier, preventing stains or discoloration from bleeding through the new paint job.
- Improved Paint Coverage: Primer can help reduce the number of paint coats needed, saving you time and money.
While not always essential, primer is highly recommended for most painting projects to ensure a professional and long-lasting finish.